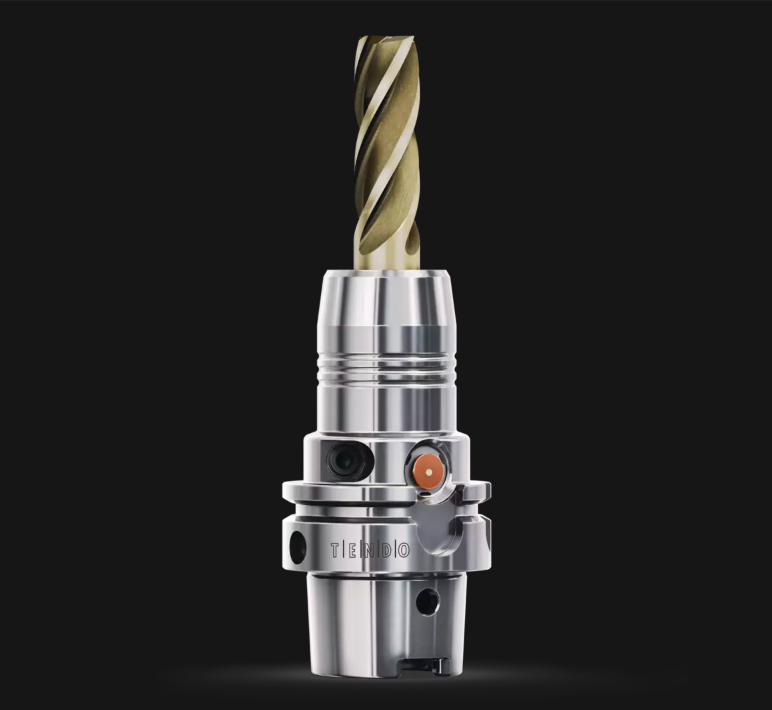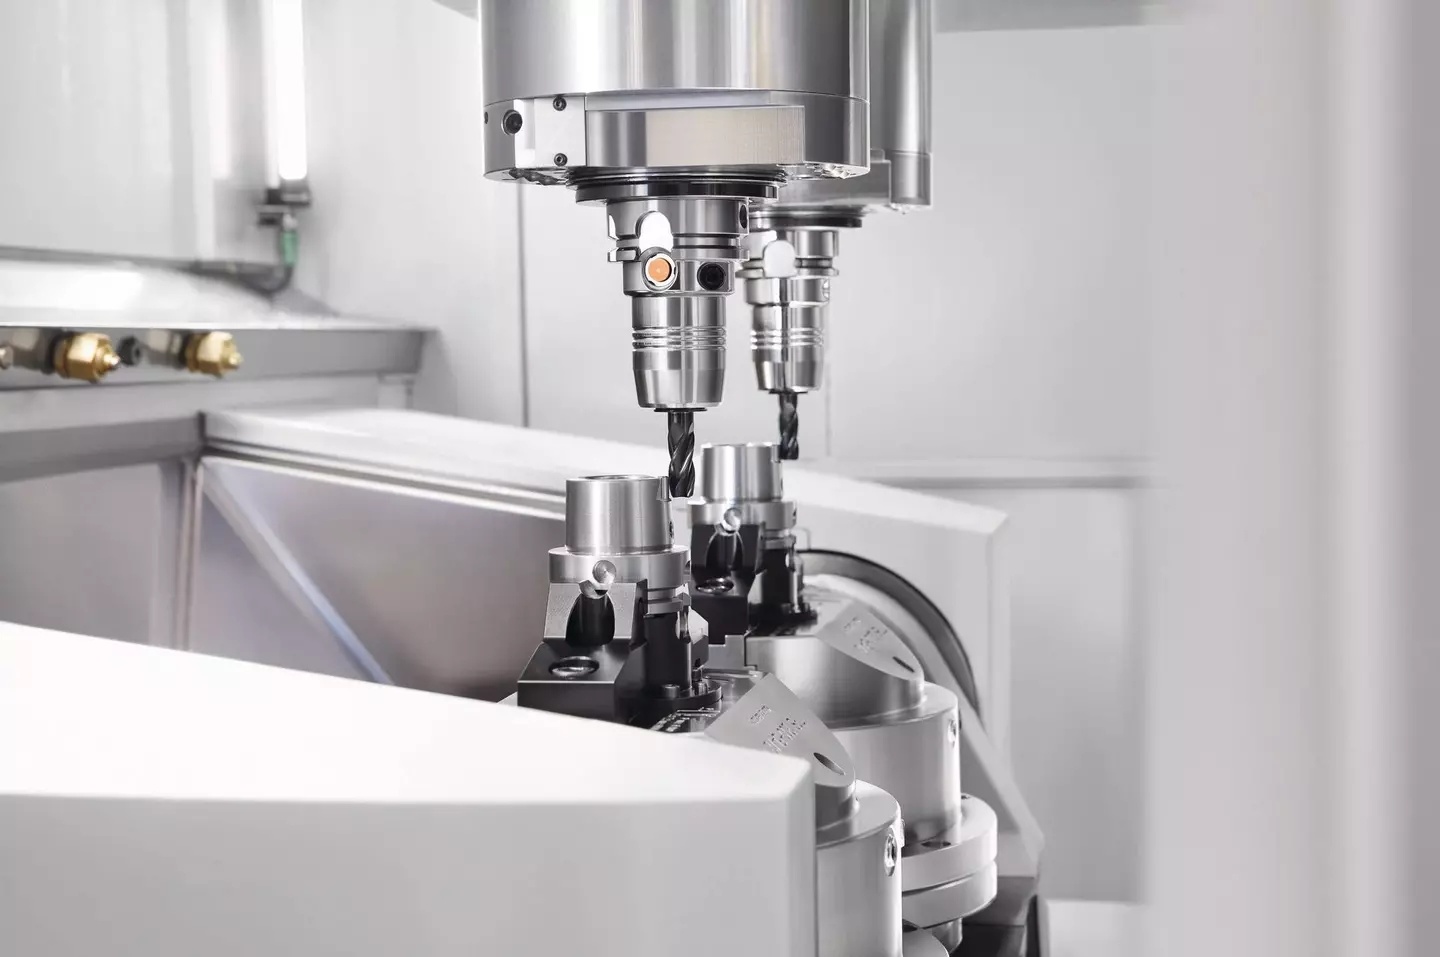

Tool holder taper detector
The tool holder is a key connecting component between the cutting tool and the machine tool spindle. If the tool holder is unqualified or wears out, it will shorten the tool life, lead to poor surface quality of the machined workpiece, and may even damage the machine tool spindle.
Key words:
Classification:
Key words:
Tool matrix-Fixture matrix
Product Description
The tool holder is a key connecting component between the cutting tool and the machine tool spindle. If the tool holder is unqualified or wears out, it will shorten the tool life, lead to poor surface quality of the machined workpiece, and may even damage the machine tool spindle.
Proper selection and use of toolholders is a cost-effective way to increase machine tool productivity, reduce downtime and reduce the number of defective workpieces. Although the toolholder cost only accounts for a small part of the machining cost, it has a large impact on productivity and cost-effectiveness.
Several types of unqualified tool handles:
-Tool holder taper and taper surface tolerances are unqualified, and the fit between the tool holder and the machine tool spindle is insufficient, resulting in excessive vibration.
-The circular runout of the tool holder part is too large, causing the tool to wear too fast and the workpiece surface to be rough.
- 7:24 The positive tolerance of the tapered surface of the large tapered tool holder and the small tapered surface is too large, causing the tool holder pulled into the spindle to lock with the spindle after high -speed machining, making it difficult to remove the tool holder, and even causing damage to the inner hole of the spindle. wear and tear.

Several typical forms of toolholder failure:
- Chips wrap around the tool holder, causing wear on the tool holder due to friction between the tool holder, workpiece and chips.
- Intermittent cutting forces cause surface fatigue on the tool holder.
- Deformation of tool holder due to cutting forces.
- Cutting heat and cutting temperature cause phase changes in the material structure of the tool holder.
- Oxidation and corrosion of tool handles.
- Wear of spare parts, fittings and connecting surfaces.
- The heat shrinkable tool holder is over-burned during the heat shrinking process, resulting in changes in the material structure of the tool holder.
How to judge whether the knife handle is qualified or whether it can continue to be used after a period of use? Belemstone recommends several solutions for you!
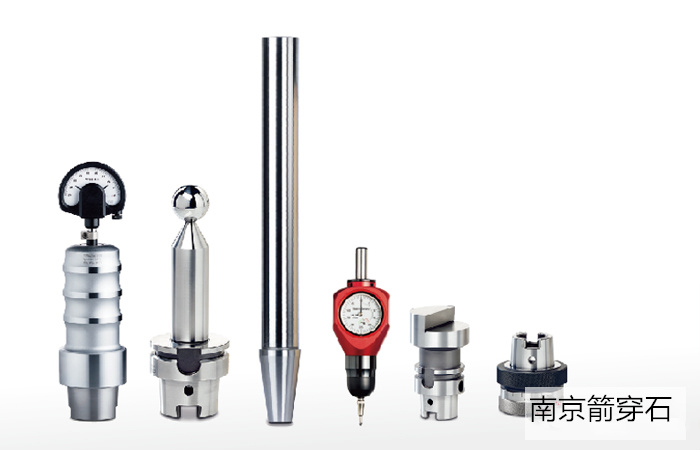
1. Use the tool holder taper detector to control the quality of the tool holder
Diebold provides toolholder taper detectors for testing HSK, SK, BT, and D-BT (B-BT) types.
This ensures that you can detect functional dimensions such as toolholder taper at an early stage to effectively avoid spindle damage.
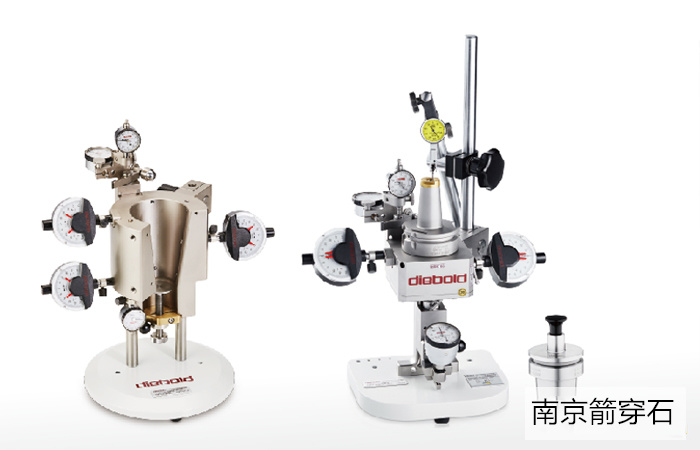
Diebold HSK tool holder taper detector
The calibrated tool holder taper detector can operate 4 important dimensions at one time:
1. d 2 diameter of the large end of the taper
2. dk diameter of the small end of the taper
3. l 5 tensioning bevel position
4. l 6 ejection surface depth
roundness : d 2, dk can be measured by rotating the HSK taper shank in the inspection tool
With the use of V-shaped flange groove measuring device, it can detect
5. d 11 radius of V-shaped groove
6. f 3 distance from V-shaped groove to end face
With the runout detection bracket, the runout of the tool relative to the taper of the tool holder can be checked
8. A Outer diameter runout
9. B End face runout
10. C Inner diameter runout
Diebold BT tool holder taper detector
The calibrated toolholder taper detector can measure:
1. d 2 diameter of the large end of the taper
2. dk diameter of the small end of the taper
3. MI straightness of the taper
4. a distance from the flange surface to the taper
With the flange V-groove measuring device, it can detect
6. d 5 flange V-groove size
7. f 1 The distance from the V-groove to the taper;
With the runout detection bracket, the runout of the tool holder nose can be detected
7. A. Outer diameter runout
8. B. End face runout
9. C. Inner diameter runout
Use HSK toolholder runout detection device to detect toolholder runout and quickly screen out unqualified toolholders
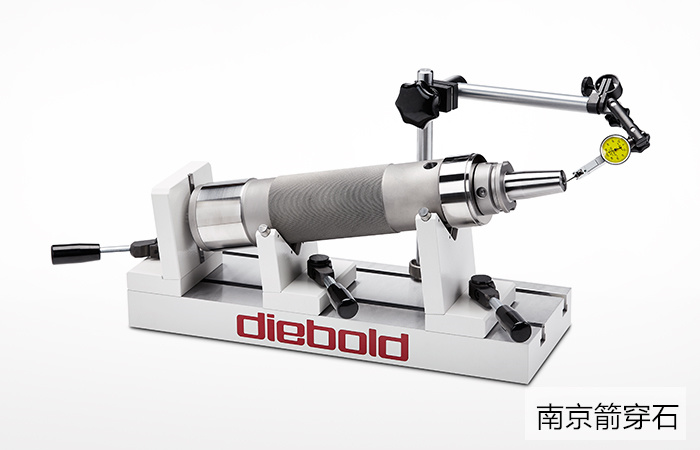
By detecting the runout of the tool handle, unqualified tool handles can be quickly screened out. After the tool handle has been used for a period of time, or appears worn or over-burned, the runout of the tool handle can be directly detected. If the runout of the tool handle is too large, it is recommended to stop using it. , this detection method has a faster detection speed and is especially suitable for batch detection. It is widely used by end users of tool holders.
In addition, the spindle of the machine tool is also an important factor affecting the processing effect. Whether the various indicators of the spindle meet the standards directly affects the processing performance of the machine tool. In order to detect machine tool spindles, Diebold also provides a series of spindle inspection tools, including: spindle taper hole inspection tools, spindle tension gauges, spindle runout inspection rods, spindle dynamic balance gauges, M19 spindle angular position inspection tools, spindle tie rod position inspection tools , etc. Help you achieve maximum precision and reliability in production and maintenance, and are deeply trusted by spindle manufacturers, spindle repairers and machine tool users!
Related Products
Related Cases
Welcome your message consultation


